As we navigate the digital age, the ability to record high-quality videos is becoming an increasingly valuable skill. Whether you're starting a vlog, conducting a virtual meeting, or shooting a short film, understanding the basics can significantly improve your final result.
In this part one of our Kuva Media Help Desk Series, we delve into beginner tips for shooting video. We'll cover setting up your recording environment and discuss the best practices for recording videos.
Selecting the Right Equipment
Shooting great video starts with the right tools. While professional video cameras offer excellent quality, modern smartphones can produce surprisingly good results. Opt for a device known for its video capabilities, and invest in a tripod or stabilizer to prevent shaky footage. An external microphone, such as a lapel or shotgun mic, can also significantly enhance your audio quality.
Mastering Lighting Techniques
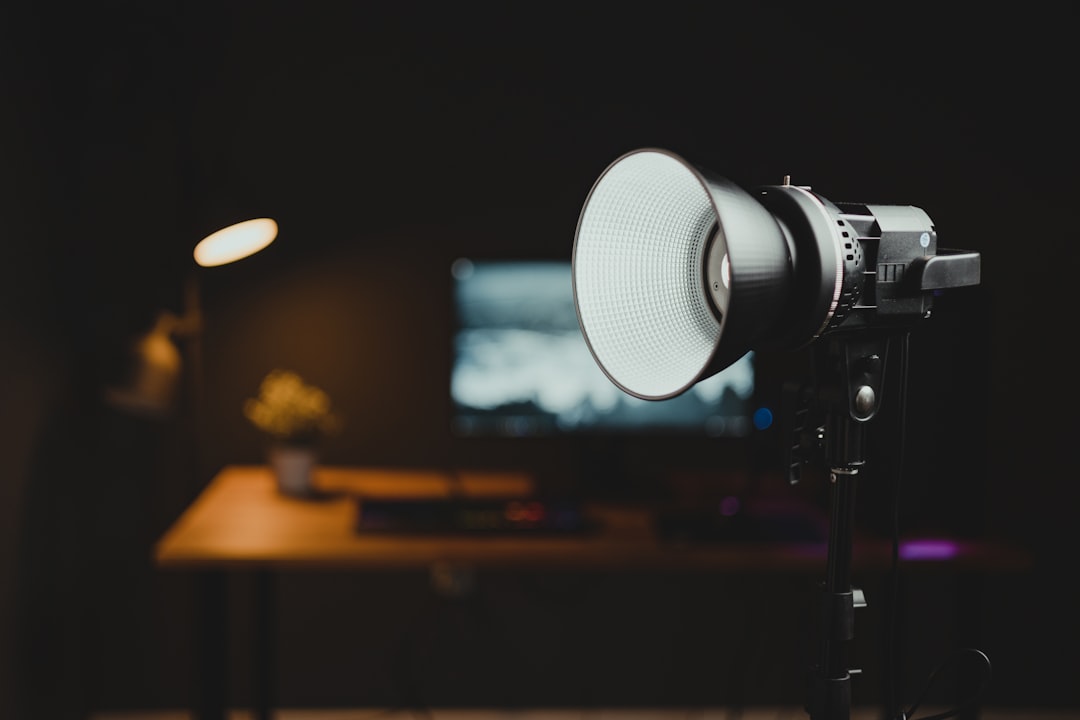
Lighting is a key element of videography. Whenever possible, utilize natural light. If you're indoors, consider investing in studio lights. Avoid direct sunlight or harsh shadows, as they can create unflattering visuals. Always be aware of your background lighting – overly bright lights behind you can make your form appear dark and obscure detail. If you're using specialized lighting like a ring or "Zoom" light, experiment with brightness and temperature settings for the best results.

Photo by Jason Pischke / Unsplash
Choosing the Perfect Background
An appropriate background can complement your subject and enhance your video quality. Go for a clean, non-distracting environment. A backdrop or a plain wall can work wonders. Keep your background clutter-free to maintain focus on the subject. For those with more advanced skills, you can experiment with green or blue screens for more dynamic backgrounds.
Framing Your Shot Right
An effectively framed shot can elevate the quality of your video. The Rule of Thirds – envisioning your frame divided into nine equal parts – is a fundamental principle that can guide your composition. Position your subject directly in the center for a vertical or landscape video, especially if it's a talking head. Advanced users can experiment with various subject placements based on the intended output and finishing needs.
Setting Your Camera Correctly
If you're using a device like a mobile phone, tablet, or computer, leverage their auto-focus features. For advanced users, manual focus offers better control and flexibility. Don't forget to adjust your resolution, frame rate, and white balance to match your shooting environment.
Testing Your Setup
Remember, preparation is key. Always test your setup before beginning your recording session. Check for video and audio quality, lighting, and composition. A test run ensures everything works as expected and leaves you time to address any issues that may arise.

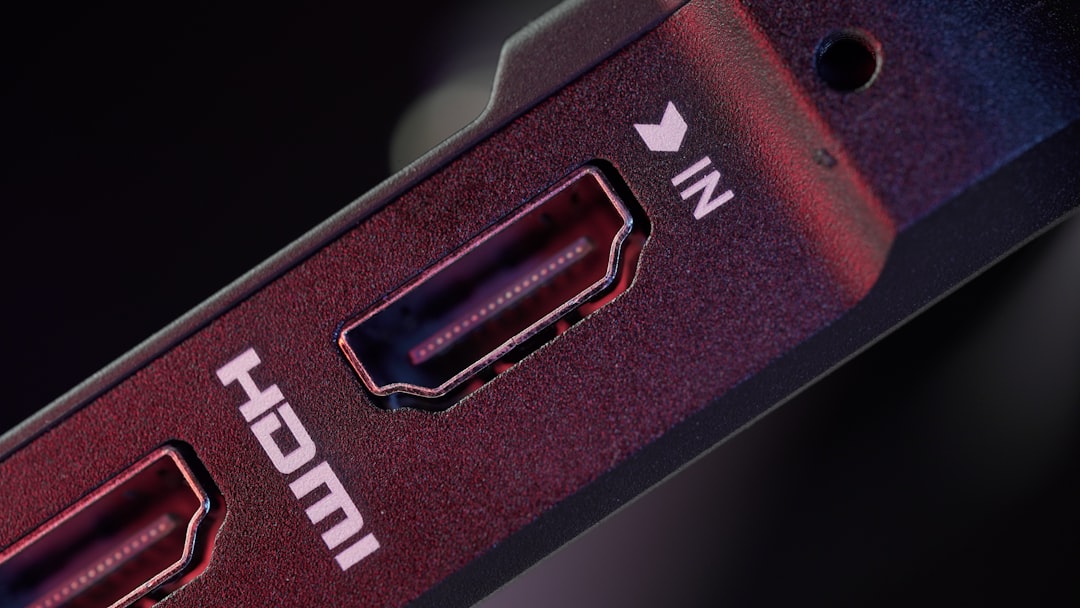
Photo by TheRegisti / Unsplash
Ensuring Steady Camera Movement
Minimize handheld recording unless you're going for a specific aesthetic. Utilize a tripod or stabilizer for smooth, steady footage. If you need to move the camera, aim for fluid, deliberate movements. Slow pans, tilts, or zooms can add dynamism to your video without causing distraction.
Recording Additional Footage
If your project isn't a live video, consider recording B-roll or extra footage. This additional material can offer context, smooth transitions between shots, and make your final video more engaging and polished.
Ultimately, shooting video is a skill that improves with practice. Keep refining your techniques, learning new ones, and don't be afraid to experiment. With time and patience, you'll find yourself shooting professional-looking videos in no time!
Stay tuned for the next part of our series, where we'll delve deeper into more advanced video shooting techniques.
